
When Craftsy first asked me to guest blog, I was super excited! Then I found out I would be making a birthday cake for myself.....still excited.....and totally stumped! It's like asking a hair stylist to cut their own hair (which I know some of them do). But I have never made a birthday cake for myself. I am always the one to make the cake for my friends and family.
Over the past few years, my friends have taken turns trying to make me the most ridiculous birthday cake possible. This is one that my friend Heidi made for me a couple years ago.....

Tiniest birthday cake ever! I put it next to an 8 inch round so you can see just how little it is.
So what to make?? Well there are no rules here (at least I don't think) so I have decided to go in a different direction. As a blogger myself (www.thefashioncaker.com), when I get inspired by a runway show or magazine shoot, I come up with an idea and make a cake that reflects the inspiration. Now I am not a fashion designer (maybe one day;), but I have always dreamed of making a collection. So that is exactly what I am going to do.....only in sugar! Hey, it's my birthday cake, right? If I am going to spend my birthday making a cake, I am going to make something I love!...not something that say's "Happy Birthday Joshua"!
I decided to start with one of my favorite things in the fashion world.....windows! I love seeing windows dressed for the season. Alexander McQueen, of course, is one of my favorites. I'm a bit obsessed! Here are a few....


I am going to use the dolls as dress forms and gumpaste as my fabric....


Yes I had to tear some of them up. Sorry Barbie:(
Now that the clothes are started and drying, let's work on the cake. I am going to cover a 1/4 sheet cake (6 inches tall) with a dark grey fondant and then do some texture work.


I started by using a few small sizes of round cutter, embossing multiple times....


So I ended up with this. I know it looks busy but this is only the first layer for the background.
Now for the top tier I hand cut with bone pattern.....


It's like crocodile skin magnified!
Here is the base cake with a small separator.....

Looking good!

With the clothes off the forms, I am going to add some embellishments.

I made this rose mold from lace (a technique you can find in my Craftsy class Fashion Inspired Fondant). It makes the perfect top to this dress!
And of course we need some sparkle pants. A little piping gel and sprinkles mixed with edible glitter should do the trick.


I stood the looks up against the cake to find the right placement and then secured them using white chocolate.

 \
\
How about that croc skin cape?!! It's my favorite.

Oh, BTW, chopped coconut totally looks like fur.....I mean faux fur...I'm an animal lover!

Here they are all ready for finishing touches. It's got that hauntingly beautiful look I was going for.

I added a couple extra details like the bottom to this dress. I rolled the gumpaste through the pasta machine to the last number, so it was as thin as possible.


....a little chaos to this dress


I also roughed up the edges with some black and gold paint for a dramatic effect.


We are looking good!
Now I need a logo. I figure (in honor of Mercedes Benz Fashion Week) I should create a logo for my line. I am going to use the two J's in my name (Joshua John) to draft an insignia by hand.
I started with the size square I needed out of paper and marked the centers....
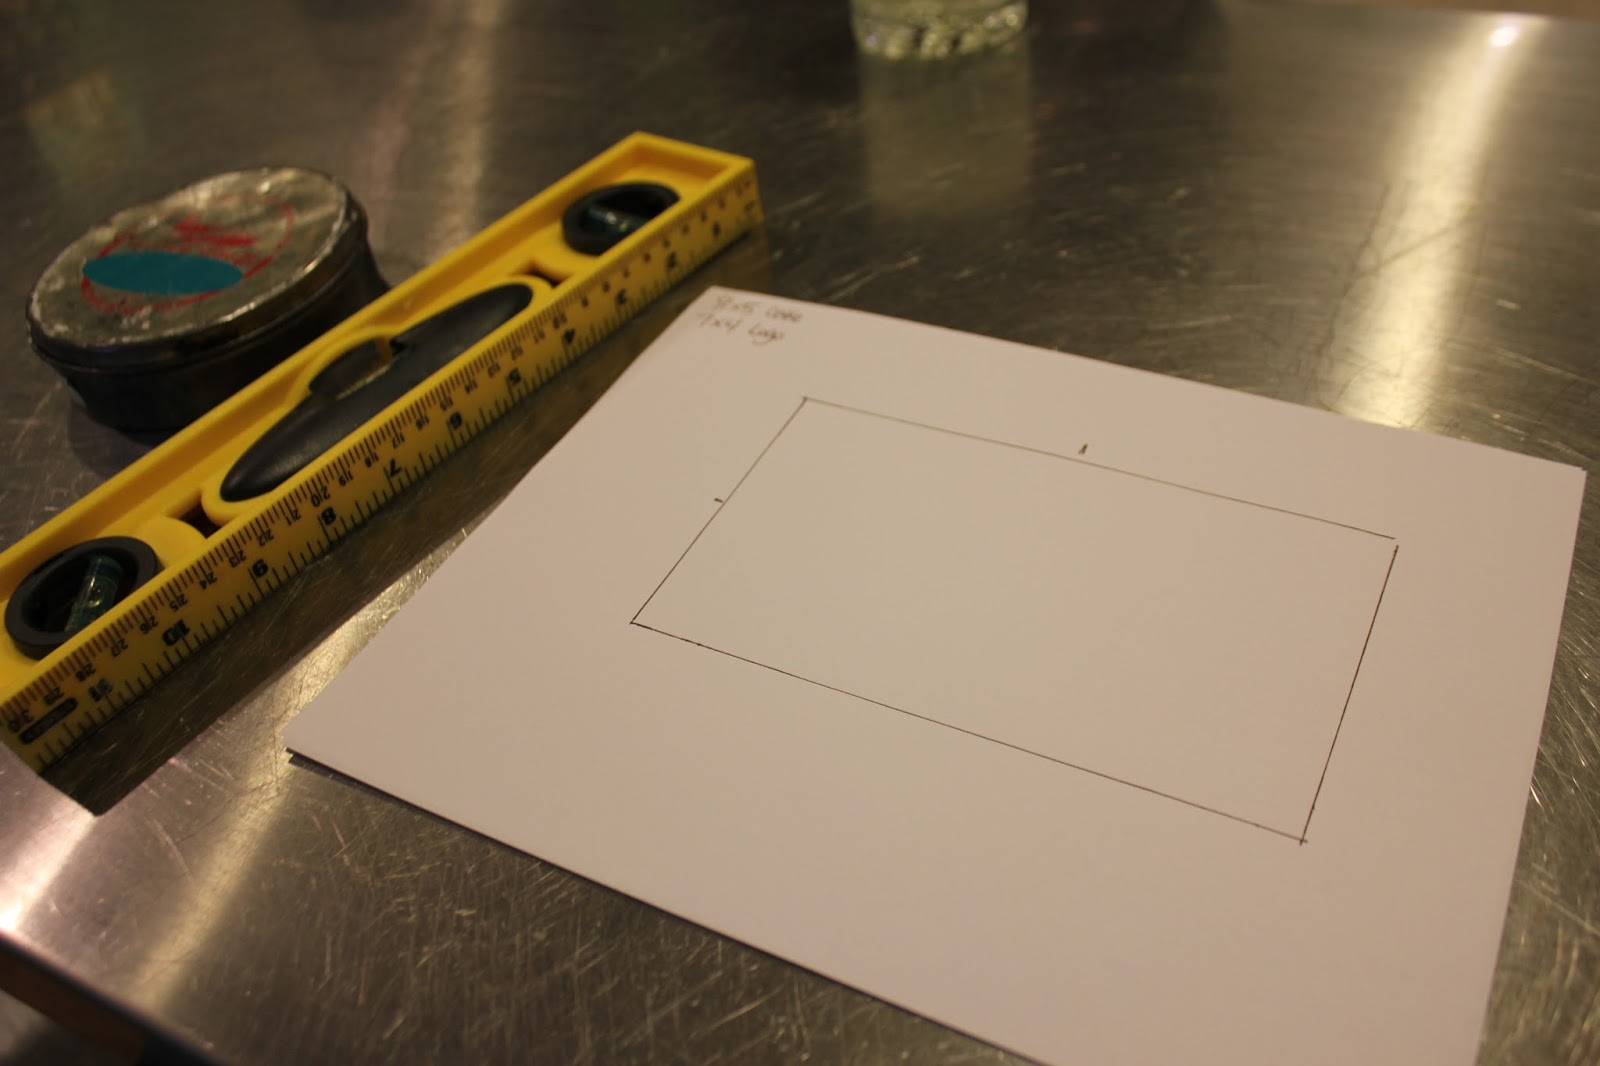
Then I created the frame and back to back J's using circle cutters....

And then I cut it out of gumpaste and allowed it to dry for a couple hours....


Now I secured the logo with white chocolate and added gold details.

And I think we are all set!!
Here is the finished cake. Drumroll please......


Happy Birthday to me:) Seriously this was one of the coolest projects I have ever done. Thanks to Craftsy for letting me be a part of their blog! Bye.

you are AMAZING!!
ReplyDeleteI love it. Great job. And now I understand its a logo!!!
ReplyDeleteA cake for a designer.. You rock Joshua :)
ReplyDeleteI also love every minute of your classes..
Elin
Your work is so awsome!! Your are so creative!! You have an unconditional fan in Spain! Bravo!!!
ReplyDeleteWow! One of my talented Craftsy instructors. I learn something new every time I bump into info with Josh. Great job.
ReplyDeleteOh, I love this!
ReplyDeleteYOUR FREAKING AAAAAWESOOOOOME! lol tks Josh!
ReplyDeleteI had to keep going to see the finished cake, great job
ReplyDeleteAmei, parabens
ReplyDeleteWHOA!!!!!!!!!!!!!! That is totally super fab!!!! Amazing masterpiece!
ReplyDeleteThis comment has been removed by a blog administrator.
ReplyDeleteWow Joshua ur over the top amazing am taking ur class on craftsy fashion inspired foundant
ReplyDeleteWow Joshua ur over the top amazing am taking ur class on craftsy fashion inspired foundant
ReplyDeleteWow! This is a work of a great mind.Fantastic! You are amazing
ReplyDelete